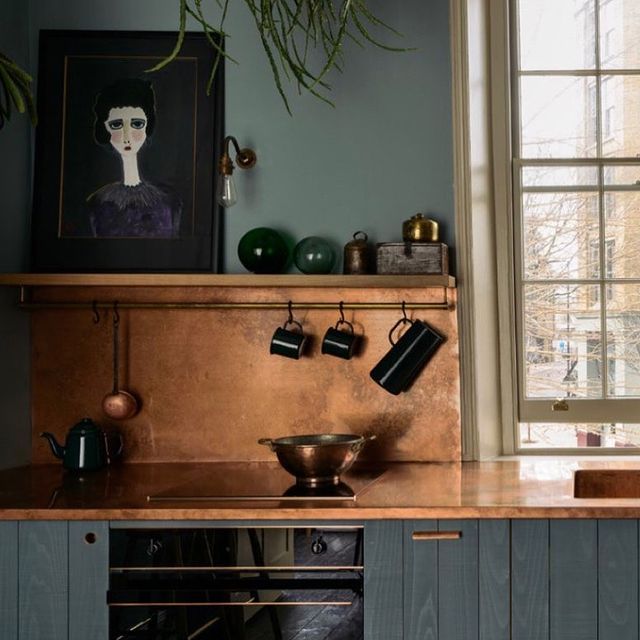
Kitchen splashbacks are a convenient way to protect walls around sinks and kitchen worktops. They provide a lot of coverage for not a lot of money and can deliver a decorative conversation piece or disappear into the background, depending on your needs.
Traditionally, kitchens had tile splashbacks. A decorative tradition that goes back hundreds of years.
Tiles are great. They come in all shapes, sizes and colours and are relatively easy to fit.
They aren’t the only way to protect a wall though.
Metal or acrylic sheets are increasingly being used as kitchen splashbacks.
They provide more colour and pattern options, have equally hard wearing properties and can resist staining and frequent use just as well as tiles.
They are easier to fit too!
If you’re interested in installing a kitchen splashback, it’s a relatively straightforward process.
We’re going to walk you through each step so you can have full confidence in the process when it comes time to fit yours.
Installing a kitchen splashback
You will need:
- Nails and fixings or liquid adhesive
- A prepared surface ready to install the splashback
Measure twice, we cut once
You’ll need to accurately measure the area you want to install your splashback. Once you have those, you can cut the splashback to the correct size and prepare it for fitting.
Prepare the area for the splashback
Once you have your splashback ready to install, prepare the surface. You’ll want a flat surface with as many imperfections filled and smoothed as possible.
While metal splashbacks are forgiving and can cover up a lot, the flatter the surface, the better the finish.
If you removed tiles and filled, paint some PVA or kitchen primer paint on the area you’re going to be installing your kitchen splashback.
We strongly recommend a non-porous surface underneath to ensure the wall is as protected from moisture as possible.
If you’re installing using screws, offer up the splashback and mark the holes where you are going to mount the splashback to the wall.
If you’re using adhesive, mark exactly where the splashback will go with a pencil.
You’ll ideally need 2-3mm around each edge of the splashback to allow for sealant and expansion.
When marking out screw holes, ensure the positioning allows for this gap around the sink, cookers and anything else in the way.
Drill those holes and use the correct size wall plugs. Ensure the plugs are flush with the surface of the wall so the splashback will fit flat.
Offer up the splashback
Once the area is ready for fixing the kitchen splashback, offer it up again to make sure the holes are in the right place (If you’re using screws).
Double check your 2-3mm gaps for the sink and other fixtures and make sure the wall is completely flat and there are no bends in the splashback.
While metal will bend, a smooth flat finish is definitely the ideal.
Once you’re happy everything is how and where it should be, you can fix it into place.
Fixing the kitchen splashback
You can screw your splashback into position or use adhesive. Both work equally well.
If you’re screwing into place, you will have drilled the screw holes in the correct place. You will have prepared the wall and wall plugs in the previous step.
Now all you have to do is offer up the splashback, hold it in place and screw it to the wall.
Start at each corner to fix it into position then use any other screws along the length to secure it.
If you’re using adhesive, make sure the wall surface is cleaned beforehand to ensure good adhesion.
Apply the adhesive to the back of the splashback in wavy lines making sure to reach the edges and each corner. Make sure there is good coverage all over the back of the surface.
Offer up the splashback and align perfectly with your pencil lines. When you’re confident it’s in place, push it against the wall.
Push evenly across the entire surface so it sticks everywhere and you get a flat finish. Wipe off any adhesive that escapes with a damp cloth.
You’ll have a few minutes to finesse the splashback into place until it begins to adhere. Use that time to make sure it’s perfectly in position.
Finishing touches
Once you’re happy with the positioning of your new kitchen splashback, apply clear silicone only around the edges to prevent water ingress. Always do a test spot first to ensure there is no adverse reaction to the splashback.
Depending on the type of splashback you are fitting, you may need to apply a sealant or protective finish to protect it. Check the manufacturer’s instructions.
That’s all there is to installing a kitchen splashback!
It’s the easiest way to decorate a kitchen!
Buying your Splashback from Halman Thompson
Buy a splashback from Halman Thompson and it will be made to measure, with the exact finish you requested..
Buying a brass or copper splashback from Halman Thompson we will precision laser cut to size. That can include holes for plug sockets, taps and shapes to fit around window sills and sinks.
If you’re planning to screw to the wall, tell us and we’ll drill the correct holes for you too.
If you’re using a Halman Thompson splashback, it is delivered to you with a tough lacquer to provide full protection from daily use.


